How to Make Your Own Video Studio for Live Streaming
If you are a broadcaster or creator, there has never been a better time to make your own video studio. Gone are the days when home studios were a luxury that only a few could afford with large budgets.
When it comes to how to make your own video studio, you may be surprised at the cost. Many modern video studio setups are both affordable and ideal for live streaming.
Besides, having your own studio can increase productivity, allowing you to get your work done quicker and from one location.
Getting started with building your studio
There are a few things to consider before you build your home video studio. A good place to start would be to have a brainstorming session. Write down your ideas for your video studio so that you can clearly outline your objectives.
Start with the space
Before you begin to think about hardware, you should think about the chosen space, and the room itself. It is important to do this when looking at how to set up a home studio.
Here are some useful things to consider when looking at how to set up a video production studio:
- Consider additional power outlets for all of your devices
- Make your studio soundproof by applying relevant materials to walls and doors
- Check and optimize room acoustics for sound
- Check your broadband speed and WiFi strength in the room
- Is the room close to external sources of sound that may impact your content?
- Make sure you have suitable studio lights or natural light within the chosen space
Choosing your hardware and equipment
The next phase of planning should consist of you selecting your home video production studio equipment.
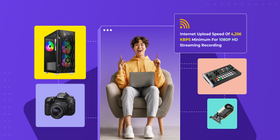
The following guide is recommended for most mid-range and budget setups. We have also written a separate blog to help you decide which hardware is the best for streaming.
Here are some key things to look for when choosing equipment for your home video studio:
Computer hardware at a glance
- A video card (GPU) with an NVENC encoder for streaming flexibility
- Multicore and multithreaded processors such as the AMD Ryzen series
- A software switcher or a hardware switcher
- Internet upload speed of 4,256 KBPS minimum for 1080P HD streaming
Recording equipment at a glance
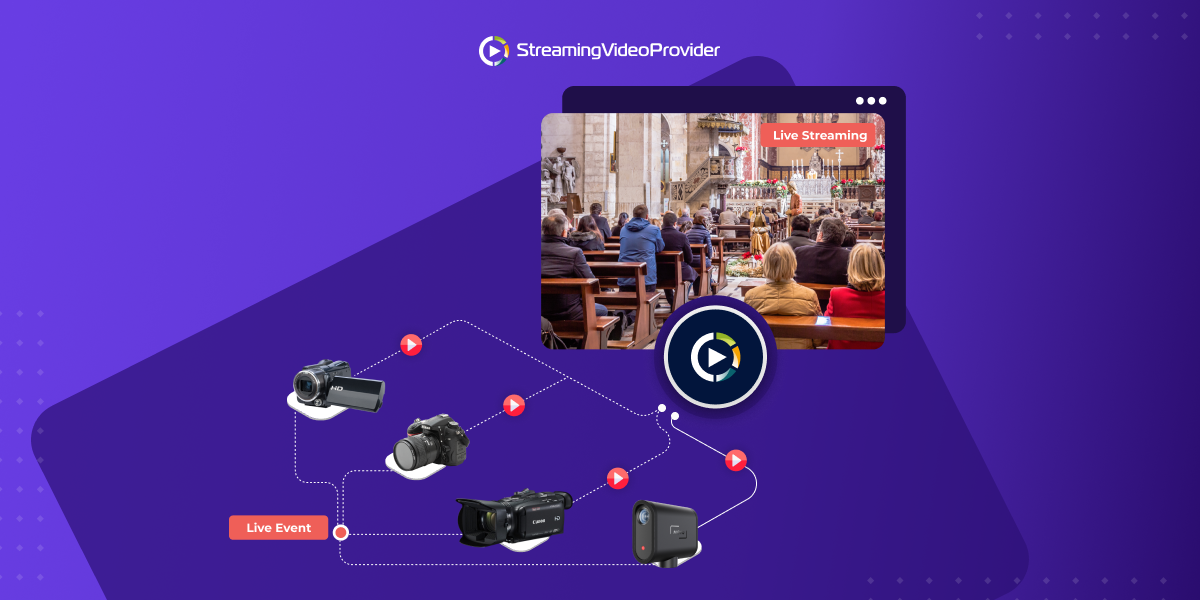
- Camera such as the Canon EOS 90D, for single or multi-camera configurations
- Choose your microphone for streaming and polar pattern based on your content
- A green screen for enhanced production quality
- Appropriate lighting based on your studio configuration and camera location
Now let’s dive deeper into how to choose each component of your DIY video studio setup.
How to choose a camera
A good place to start would be looking at which camera is right for your streaming needs. A great medium-range camera for UHD recording, for example, would be something like the Canon EOS 90D. It offers a built-in wireless connection, HDMI output, and 4k at 120FPS.
Before selecting a camera for your DIY video studio, you need to understand which types of video you'll be streaming — gaming, tutorials, interviews, or something else. Then, you need to assess the lighting conditions and space of your home studio.
- Set your budget: Decide how much you're willing to spend. Camera prices can range from under $100 for webcams to over $1000 for professional-grade cameras.
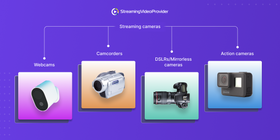
- Decide on camera types:
- Webcams: Great for beginners, affordable, and easy to set up. Best for talking head videos or simple streams.
- Camcorders: Offer better quality than webcams, optical zoom, and longer recording times without overheating.
- DSLRs/Mirrorless cameras: Provide the best video quality with depth of field control, but are more expensive and may require additional hardware for live streaming.
- Action cameras: Best for on-the-move or POV streams. Rugged but with a wide-angle view that might not suit all studio setups.
- Evaluate key features:
- Resolution and frame rate: Aim for at least 1080p resolution. For smooth motion, look for a camera that can do 60 frames per second (fps).
- Connectivity: Ensure the camera has HDMI or USB output for streaming. Some might need a capture card to connect to your computer.
- Low-light performance: Important for indoor environments. Larger sensors typically perform better in low light.
- Lens options: DSLR and mirrorless cameras offer interchangeable lenses for more flexibility in shot composition.
- Autofocus: Crucial for keeping you in focus as you move around. Look for a camera with fast and reliable autofocus.
- Check compatibility: Make sure the camera is compatible with your streaming software or platform. Also, verify it works with your operating system.
- Consider additional streaming hardware:
- Microphones: Built-in microphones are rarely enough for high-quality audio. Consider an external mic. We talk about that below.
- Lighting: Good lighting is key to a professional-looking stream. Read on for more information on that.
- Tripods/Stands: Essential for a stable and adjustable setup.
How to choose a microphone
Before you choose a microphone for your video studio, it’s a good idea to determine the nature of your content—podcasting, gaming, musical performances, or general commentary. Consider the acoustics and noise level of your streaming space. Some mics are better at noise cancellation than others.
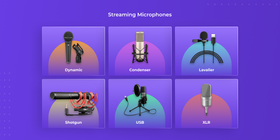
- Understand microphone types:
- Dynamic microphones: Great for loud, live sound environments. They're robust and offer good noise isolation but might lack the detail of other mic types for studio recording.
- Condenser microphones: Excellent for capturing vocal subtleties and high frequencies. Best suited for controlled studio environments as they can pick up background noise.
- Lavalier microphones: Small, clip-on mics ideal for interviews or situations where you need to move freely.
- Shotgun microphones: Highly directional mics perfect for focusing on sound from one direction and minimizing side noise. Useful for vlogs or when the mic cannot be near the sound source.
- Decide on a pickup (polar) pattern:
- Cardioid: Picks up sound from the front, good for single-person streams.
- Bidirectional: Captures sound from the front and back, ideal for face-to-face interviews.
- Omnidirectional: Picks up sound from all around, suitable for multi-person podcasts or roundtable discussions.
- Supercardioid and hypercardioid: Tighter versions of the cardioid pattern, with more focus and less background noise, great for noisy environments.
- Set your budget: Prices can range from under $50 for basic models to over $1000 for professional-grade microphones. Decide how much you're willing to invest based on your streaming priorities.
- Consider connectivity:
- USB microphones: Easy to use, plug-and-play with computers. Ideal for beginners or those with simple setups.
- XLR microphones: Offers professional audio quality but requires an audio interface or mixer to connect to your computer. Best for advanced setups.
- Assess additional features and accessories:
- Shock mount: Reduces handling noise and vibrations.
- Pop filter/windscreen: Minimizes plosives (hard "p", "b" sounds) and wind noise for clearer audio.
- Boom arm/stands: Provides flexibility in microphone positioning.
You should adjust your microphones and try out different accessories until you are able to get the sound quality just right. This can be frustrating, but the end result will more than make up for it!
How to choose lighting
Consider the size of your studio and where it's located. Natural light can be a boon or a bane, depending on control. What you have in the background and how you want it lit will affect your artificial lighting choices.
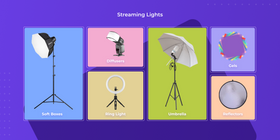
- Understand lighting basics:
- Key light: Your main light, usually placed in front of you, to illuminate your face and the subject.
- Fill light: Used to soften shadows caused by the key light, placed on the opposite side but at a lower intensity.
- Backlight: Helps separate the subject from the background, adding depth to the shot.
- Choose your light type:
- Softboxes: Diffuse the light, providing a soft, even spread, ideal for a natural look.
- LED panels: They offer adjustable brightness and color temperature and they're versatile and energy-efficient.
- Ring lights: Great for direct-to-camera content like vlogging, providing even, direct light that reduces shadows.
- Umbrella lights: Similar to softboxes, but with a wider spread, good for lighting backgrounds.
- Consider color temperature: Measured in Kelvin (K), color temperature affects the mood of your video. Daylight-balanced (around 5600K) is a versatile starting point.
- Determine your budget: Lighting setups can range from very affordable to professional-grade prices. Decide how much you're willing to spend based on your needs and the quality you aim for.
- Think about portability: Some lighting equipment can take up considerable space and require time to set up and adjust. Consider your space constraints and how quickly you need to be able to move or adjust your setup.
- Consider accessories:
- Diffusers: They soften the light for more flattering visuals.
- Gels: Colored filters that can change the mood or correct color.
- Reflectors: They are used to bounce light to fill in shadows without additional sources.
You should experiment around with your lighting once you have everything in place. Doing this will allow you to get the most out of your cameras and microphones. It is best to initially avoid securing your equipment into place until you are happy with how everything works.
Remember, the goal is to have a well-lit, shadow-free video without overpowering the subject.
How to choose between a hardware and software encoder
If you are new to building your own video studio, you may find it hard to decide between a hardware and a software encoder. Here is a quick breakdown:
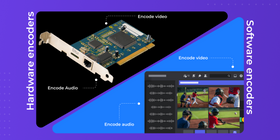
- Hardware encoders are dedicated devices designed to encode video and audio content into streamable formats without taxing your computer's resources. They're known for reliability, efficiency, and supporting high-quality streams.
- Software encoders are applications that run on your computer or another computing device, utilizing its CPU (or GPU, for some advanced options) to encode video and audio. They offer flexibility and are often more affordable
Now that we got this out of the way, here is a quick, three-step guide to help you choose between a hardware and a software encoder:
- What Are Your Priorities?
- Budget and flexibility: If you're starting out, on a tight budget, or need a flexible solution that can adapt over time, a software encoder might be the best choice.
- High quality and reliability: For professional-grade streaming where reliability and the highest quality are non-negotiable, investing in a hardware encoder could be worthwhile.
- What are your streaming needs?
- Quality and complexity: Determine the quality level you need for your streams. High-quality, professional streams with multiple camera angles may benefit from hardware encoders.
- Portability: If you need to stream from various locations, consider the portability of hardware encoders versus a laptop with software.
- Reliability: Hardware encoders are typically more reliable and less prone to crashes, making them suitable for high-stakes streaming events.
- What are your performance requirements?
- CPU load: Streaming, especially in high quality, can be CPU-intensive. If your existing hardware isn't powerful, a software encoder might impact the performance of other applications or the stream itself.
- Latency: For real-time streaming, like gaming or interactive webinars, low latency is crucial. Hardware encoders generally offer lower latency compared to software solutions.
Post-production: Choosing your editing and streaming software
In order to maintain the quality of your content, you also need to use suitable software. When it comes to creating content, you will need to choose some photo editing software, video editing software, and streaming software.
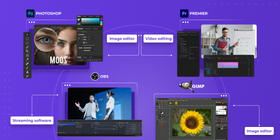
Photo and video editing software allows you to create clips, edit scenes, and give your content a high production value. Streaming software will allow you to broadcast to your desired streaming video provider.
Here are some of the best options for editing and streaming:
- Photoshop — Popular paid image editing software.
- GIMP — Free & open source image editor
- Adobe Premiere Pro — Professional paid video editing software
- iMovie — Free powerful video editor for MacOS and iOS devices
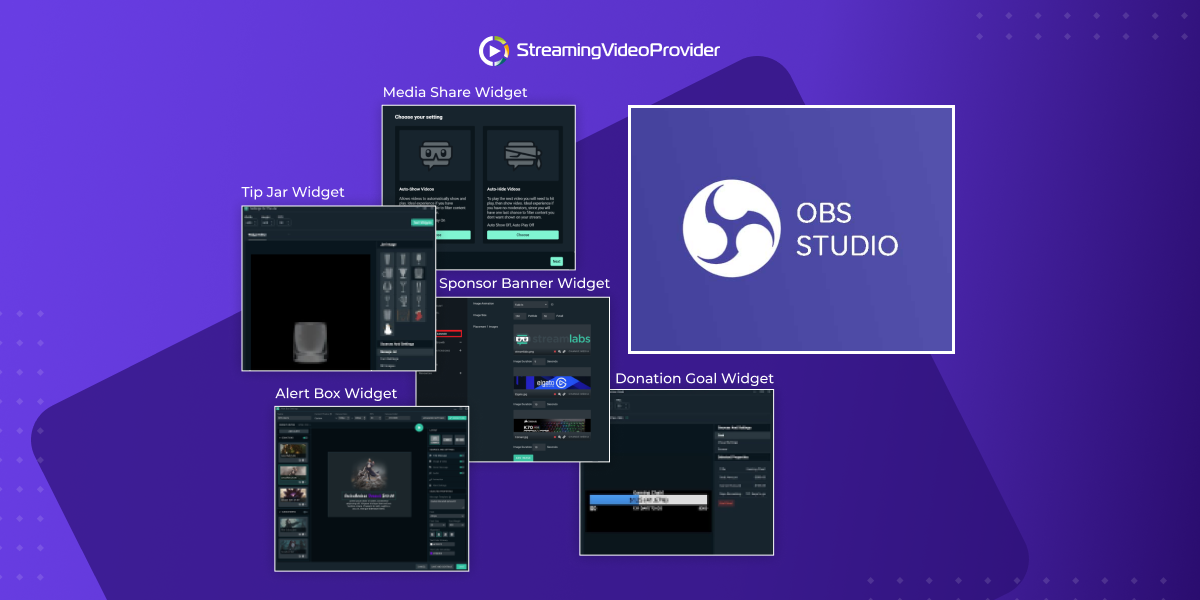
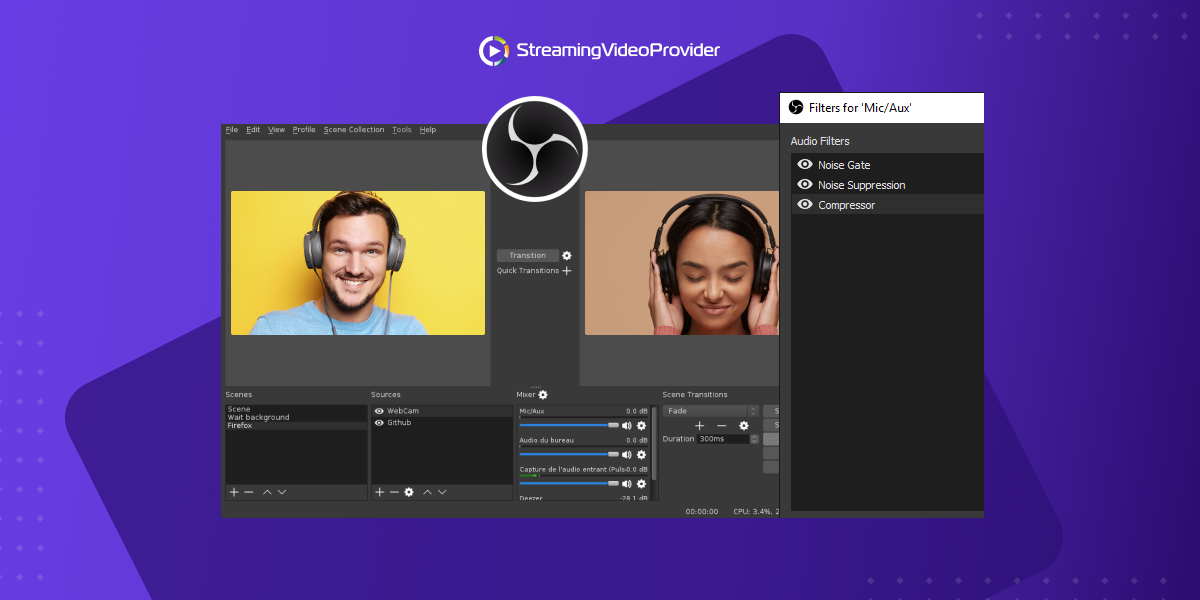
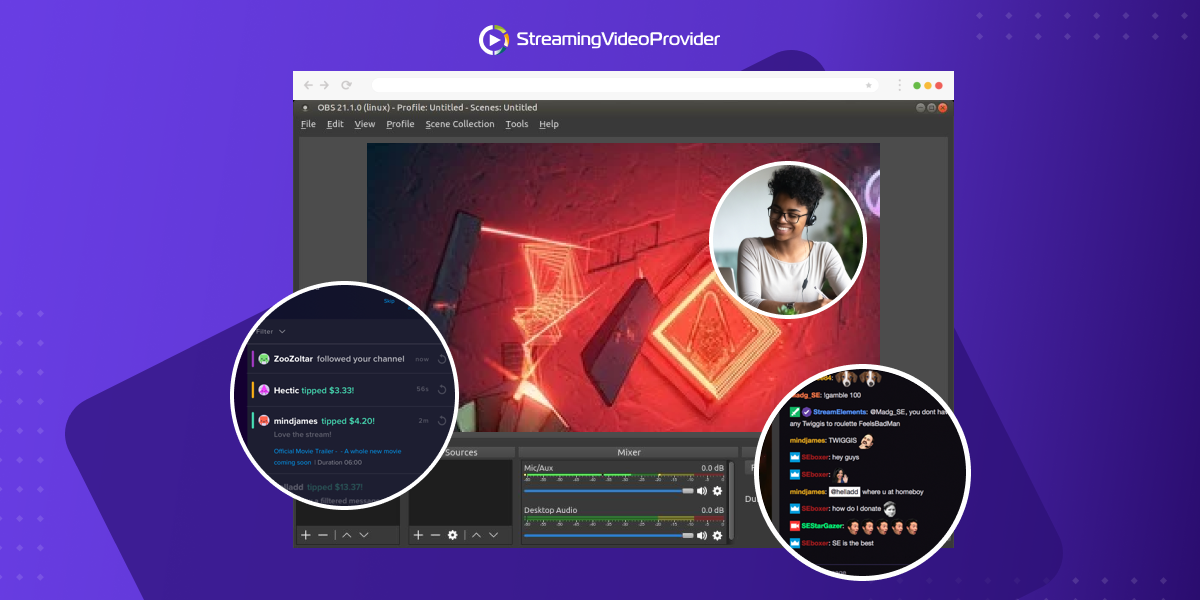
- OBS — Free streaming software used by the majority of streamers.
Once you have downloaded OBS, please follow this step-by-step guide for OBS showing you how to configure the software. If you prefer, you can also consider using XSplit which is another streaming software option.
Example video studio setups + Comparison
Let’s take a look at some of the key differences between different studio types. Here are some of the main differences between a budget studio, and a high-end home video studio setup.
Studio Type | Software | Internet | Resolution | Key Hardware |
Budget |
| 100/10 Mbps | Streaming - 1080p Video (VOD) - 1080p |
|
Premium |
| 1,000/50+ Mbps | Streaming - 1080 (high bitrate) Video (VOD) - 4K |
|
As you can see, 4K editing requires you to upgrade both the RAM and CPU of your computer. You will also want to consider faster NVMe storage due to the increased file sizes involved with 4K editing.
FAQs
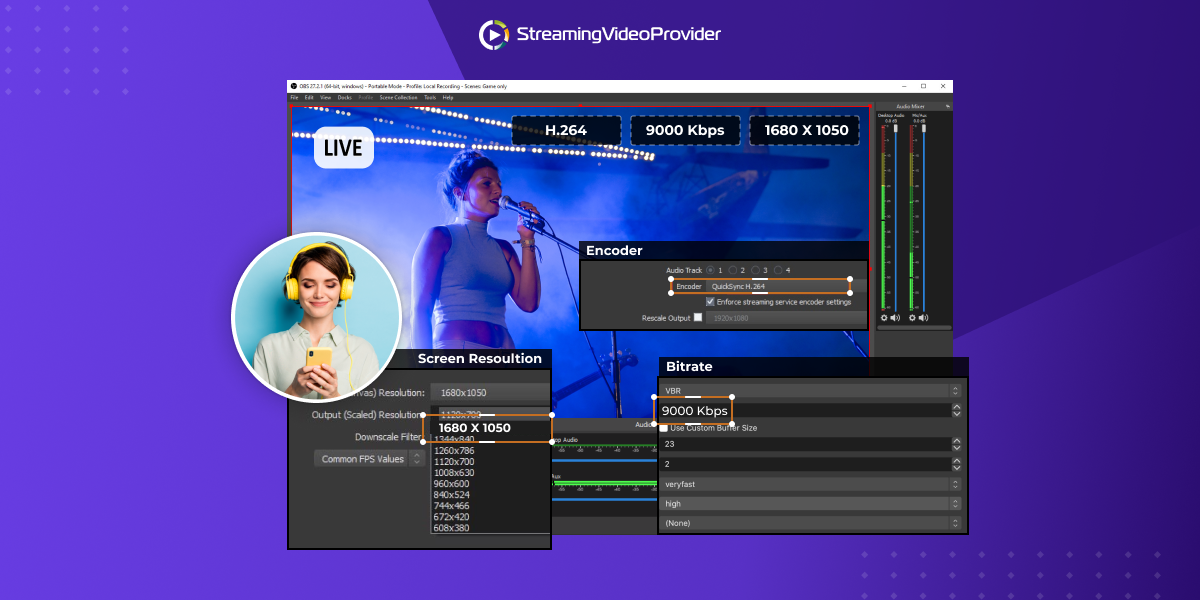
Making your videos look professional comes down to a few things. Firstly, you need to make sure that the output resolution and bitrate of your content are configured within your streaming software when streaming.
Being able to instantly switch between cameras and different overlays can also add an element of professionalism to your production quality.
Combining all of these things together with good lighting and smooth transitions can give you a fantastic end result. It is also important to configure and utilize multiple scenes within OBS, switching scenes via a hotkey.
The equipment required depends on your goals. Some broadcasters focus on a simple setup with high-quality video, whereas others choose multiple cameras and a green screen. These green screen setups are for advanced editing and high production quality video.
Some recommended go-to equipment used for videography:
- A modern PC, laptop, or Mac for video editing and streaming
- Video editing software such as Adobe Premiere Pro or iMovie
- A green screen to allow for more advanced production
- Multiple cameras for multi-camera streaming with tripods and accessories
- External XLR or USB microphones with a polar pattern best suited to your content
- Good lighting configuration
As you can see in the above table, you can create a great home video studio on a budget. As Twitch and YouTube lack support for 4K streaming, targeting 1080p means that the required hardware will be cheaper. Aiming for 1080p is ideal for a small video production studio setup.
For 4K video content, you will struggle to have a professional video studio setup on a budget. Due to the huge file sizes, you will likely need to upgrade your internet connection when working with 4K. It will also be worth looking at a faster CPU and more RAM to better handle the bigger file sizes.
Photoshop or Premiere can seem expensive if your budget is tight, but free alternatives are available. GIMP and iMovie will save you a lot of money and are able to achieve some great results.
Conclusion
Having your own video studio setup will allow you to take your content to the next level. Having a dedicated space for your content makes a huge difference. You will also be able to better control background noise and interference by having a home studio.
Another benefit is not having to disassemble your equipment repeatedly like you would have to in a more shared space. This is a big convenience, but also saves you time by not having to transport equipment to different locations.
Your video studio can also open up other opportunities and not just be used as a video production room. Here are a few different ways you can use your video studio for other activities:
- Record voice-over work
- Space for music practice and recording
- A private work/office space
- An area to complete projects without distraction
You should now know how to make your own video studio!
References & Further reading
If you would like to find out more about the topics or terminologies above, please check out the below links:
- How to add an overlay to OBS
- What is the difference between SSD and NVMe?
- What Is an XLR Microphone, And Why Would I Want One?
- What Are Polar Patterns?
- Video Lighting 101
- The Best Capture Cards for Streaming Compared
- Cardioid vs. Condenser Microphones
- 25 Tutorials for Mastering Adobe Premiere Pro
- Useful GIMP tutorials

You Charge For Yoga Videos On Your Website
Try It Free


















![[How To] Set up OBS From A To Z](https://www.streamingvideoprovider.co.uk/assets_dist/svp/img/blog-img/how-to-set-up-use-obs/how-to-set-up-obs-tutorial.png)


DON’T MISS OUT
Get updates on new articles, webinars and other opportunities: